
Introducing Terraform
Terraform is an awesome tool, created by Hashicorp, with a vibrant community of open source modules for multiple cloud providers. It’s not hard to understand why it’s a favourite amongst developers; especially when it's often faster at supporting new features than some of the cloud providers!
Terraform enables its users to manage components in their architecture, ranging from the configuration of the services used in their chosen cloud provider (such as Amazon Web Services, Google Cloud Platform, or Microsoft Azure), to software run on those services (like Chef, Helm or Vault). Terraform even supports configuring some SaaS services you may interact with (for example, GitHub or GitLab).
Using Terraform to define your desired configuration means that not only will you offload the work of creating the components you need, but also make the creation of these instances reproducible, allowing you to create, update and destroy components of your architecture as needed, all with one command (and a review of the changes before executing them!).
The private module registry
To make modules created by the Terraform providers available to all Terraform users, Hashicorp runs the public Terraform Registry which allows users to upload modules, making them publicly available to all Terraform users.
Cloudsmith's private module registry fully supports the Registry API, allowing users to access both private modules available via Cloudsmith and public modules via the public registry.
Cloudsmith's private module registry also enables developers to:
- Share custom modules for managing infrastructure among their team
- Utilize private modules in your organization without the overhead of managing their storage
- Distribute private modules as a commercial offering
- Make modifications to public packages while having control of how you publish them (publicly accessible, private to your organization or open-source)
- Capture the exact state of modules you depend on at a particular version
- Control (allow list/deny list) at an organization, repository, and module level
Getting Started
Getting started with Cloudsmith and Terraform only takes a few steps. First, you need to create a Cloudsmith account and a repository to which you can upload your modules (a terraform provider for doing just this coming soon!).
If you need to install Terraform, you can find a getting started guide on the Terraform website.
Cloudsmith's private module registry should work with all supported versions of Terraform, however, we recommend using version 0.12 or higher. You can check the version you have installed by running:
$ terraform version

Terraform v0.12.26
Creating a module
For this example, we'll create a module which prints out "Hello, world!".
First, we need to create the directory which will contain the module:
$ mkdir my_module && cd my_module
Following this, we need to create the main.tf file, this is the entry point for your module and will contain the code required to generate our message. To generate this message we must add the following to the main.tf file:
resource "null_resource" "message" {
  provisioner "local-exec" {
    command = "echo 'Hello, world!'"
  }
}
To see the output, you can run:
$ terraform init && terraform applyUploading your module
Now that we have the code necessary for our module, we need to package and upload it to Cloudsmith. To achieve that we need to make use of the *nix tool tar to package up our module:
$ tar --exclude='.terraform' \
      --exclude='.terraformrc' \
      --exclude='*.tfstate' \
      --exclude='*_override.tf*' \
      -zcf "terraform-local-example-v0.0.1.tar.gz"
To ensure we don't upload some unnecessary files, we exclude your terraform state file(s) along with .terraformrc which can contain authentication credentials.
The name of the terraform module is critical here, as the terraform registry API requires this specific format, along with several other requirements that you should review when creating modules.
To upload the module to Cloudsmith, you can use either the application's UI, or the Cloudsmith CLI. For this example, we'll be using the CLI, which has steps for installation available here.
With the CLI installed and configured to authenticate successfully with Cloudsmith, we can upload our module by running:
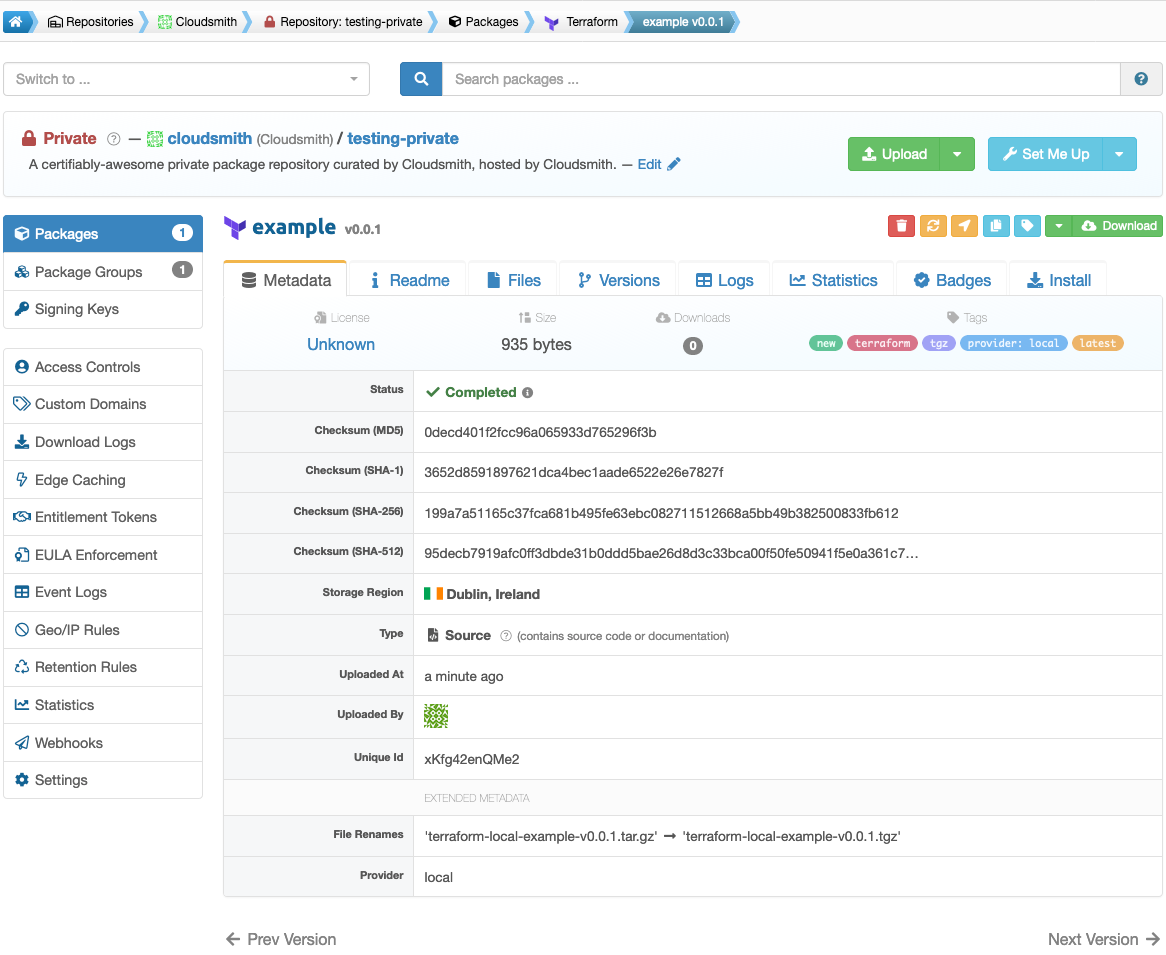
$ cloudsmith upload terraform your-namespace/your-repository terraform-local-example-v0.0.1.tar.gzOnce uploaded, you can view your module in Cloudsmith.
In summary
Cloudsmith provides fully featured Terraform module repositories on all plans, flexible enough for use whether you’re hosting public packages for a public or open-source project, or private packages for your company’s internal needs. We're extremely proud to be able to support the Terraform ecosystem with this tooling.
You can find further, context-specific information, including detailed setup and integration instructions inside each Cloudsmith repository.
Why wait? Get your public and private Terraform package repository hosting at Cloudsmith now.