
At Cloudsmith, our goal is to make it as easy as possible to get your packages into our system from where you can manage and distribute them according to your needs.
CircleCI is a continuous integration and delivery platform that helps teams release quality code, faster. They provide a mechanism for users to share code and libraries which can be reused across pipelines called "orbs".
Cloudsmith provides first-class support for CircleCI with our official orb. Using the orb, users can easily integrate publishing to Cloudsmith with their existing CircleCI workflows.
Full reference documentation for the orb can be found on the CircleCI website. This documentation is automatically generated from the orb itself and so is guaranteed to always be up to date with the latest release of the orb.
Orb usage example
To use the orb you must first ensure you are using Circle version 2.1. At the top of your .circleci/config.yml file you should add:
version: 2.1
And then include the orb:
orbs:
  cloudsmith: cloudsmith/cloudsmith@1.0.1
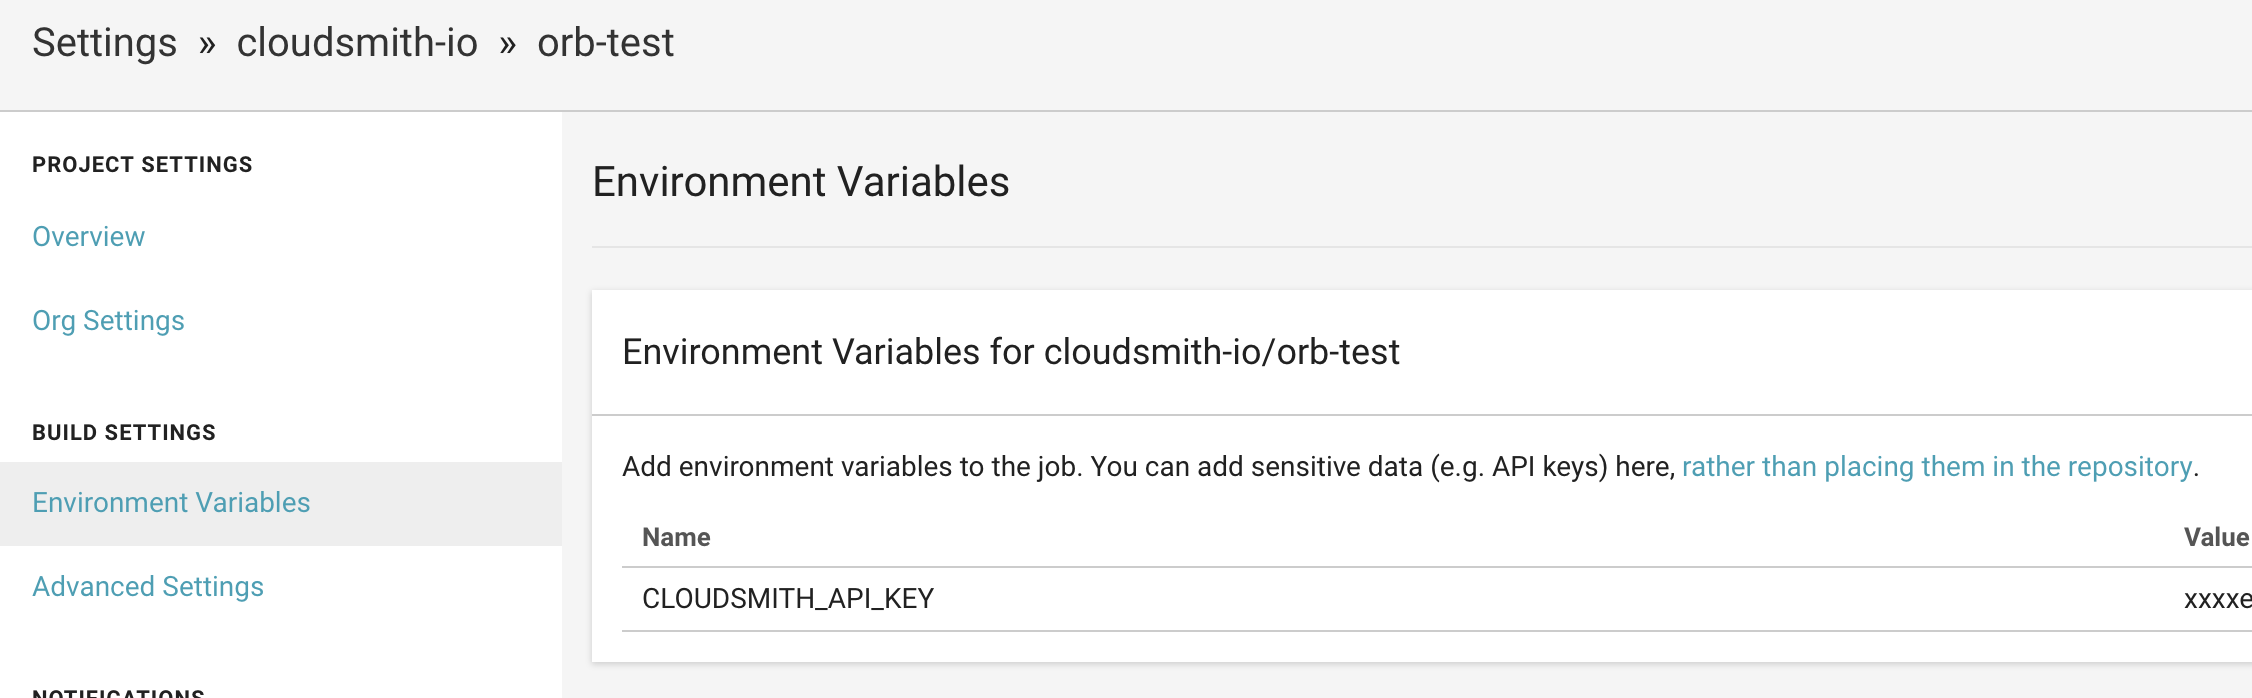
You'll need to configure authentication credentials for the orb. To do so, you can add an environment variable named CLOUDSMITH_API_KEY within the CircleCI settings page for your project:
The orb (for now) requires that you have already built the package you wish to publish. Assuming you're publishing a Python library (though the same process applies to any package type), you'll want to run setup.py sdist as a step in your job:
jobs:
  publish:
    executor: circleci/python:3.7
    steps:
      - checkout
      - run:
          name: Build Python package
          command: python setup.py sdist

workflows:
  cloudsmith_publish:
    jobs:
      - publish
Once built, we can use the orb to easily publish the package. The orb provides a number of commands to make this process simpler. We'll first ensure the Cloudsmith CLI is configured and installed, then after we've built the package, publish it:
jobs:
  publish:
    executor: circleci/python:3.7
    steps:
      - checkout
      - cloudsmith/ensure-api-key
      - cloudsmith/install-cli
      - run:
          name: Build Python package
          command: python setup.py sdist
      - cloudsmith/publish:
          cloudsmith-repository: myorg/myrepo
          package-path: dist/package-*.tar.gz
          package-type: python
Putting this all together, we end up with a .circleci/config.yaml file which looks like so:
version: 2.1

orbs:
  cloudsmith: cloudsmith/cloudsmith@1.0.1

jobs:
  publish:
    executor: circleci/python:3.7
    steps:
      - checkout
      - cloudsmith/ensure-api-key
      - cloudsmith/install-cli
      - run:
          name: Build Python package
          command: python setup.py sdist
      - cloudsmith/publish:
          cloudsmith-repository: myorg/myrepo
          package-path: dist/package-*.tar.gz
          package-type: python

workflows:
  cloudsmith_publish:
    jobs:
      - publish
Manual integration
Our official orb provides simple integration for the majority of standard CI usecases, but we know that it won't fit every purpose. For additional flexibility users can mix and match commands provided by the orb and/or use the Cloudsmith CLI directly.
For example, to use the orb to install and configure the CLI, but then use the CLI directly to publish to Cloudsmith, your configuration might look like so:
version: 2.1

orbs:
  cloudsmith: cloudsmith/cloudsmith@1.0.1

jobs:
  publish:
    executor: circleci/python:3.7
    steps:
      - checkout
      - cloudsmith/ensure-api-key
      - cloudsmith/install-cli
      - run:
          name: Build Python package
          command: python setup.py bdist_wheel
      - run:
          name: Publish Python package
          command: cloudsmith push python myorg/myrepo dist/my-package-0.1.0.whl

workflows:
  cloudsmith_publish:
    jobs:
      - publish
Support
As always, if you have any questions about integration or would like some general advice, please contact support.